Have you ever dreamed of having your own personal golf oasis in the comfort of your backyard? With artificial grass putting greens, it’s possible to transform any yard into a beautiful and functional space for practicing your short game. In this article, we will explore everything you need to know about installing and maintaining an artificial grass putting green, as well as some design tips to create the perfect backyard retreat.
Introduction to Artificial Grass Putting Greens
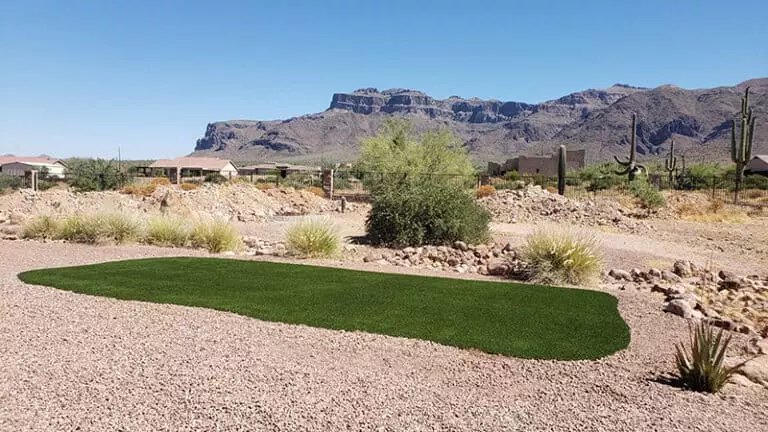
Artificial grass is made from synthetic materials that mimic the look and feel of real grass. It has become increasingly popular over the years due to its durability, low maintenance requirements, and ability to withstand harsh weather conditions. When it comes to putting greens, artificial grass provides a consistent surface for practice and play, making it ideal for beginners and experienced golfers alike.
The Benefits of Having a Backyard Putting Green
There are many benefits to having a backyard putting green, including:

Improved accuracy and precision – Practice makes perfect, and having a putting green in your backyard allows you to practice your short game without leaving home. This can help improve your accuracy and precision when playing on a real course.
Reduced wear and tear – Real grass putting greens require frequent watering, fertilizing, and mowing, which can lead to wear and tear over time. With artificial grass, however, there is no need for these maintenance tasks, reducing the risk of damage to the turf.
Year-round use – Unlike natural grass, artificial grass can be used year-round, regardless of weather conditions. This means you can practice your short game even during the coldest or wettest months.
Designing Your Perfect Backyard Putting Green
When designing your backyard putting green, consider the following factors:
Size – Determine how large you want your putting green to be based on available space and budget. A typical residential putting green usually ranges between 200-400 square feet.
Shape – Consider the shape of your putting green. You may opt for a traditional rectangular shape or something more unique like an island green.
Slope – The slope of your putting green should be taken into account when determining the difficulty level of the course. If you plan on using your putting green for serious practice, consider incorporating different levels of slopes to challenge yourself.
Installation and Maintenance Tips for your Artificial Grass Putting Green
Once you have designed your perfect backyard putting green, it’s time to install the artificial grass. Here are some installation and maintenance tips to ensure your putting green stays in top condition:
Prepare the area – Before laying down the artificial grass, make sure the ground is flat and free of debris.
Install the drainage system – To prevent flooding and damage to the turf, install a proper drainage system beneath the surface.
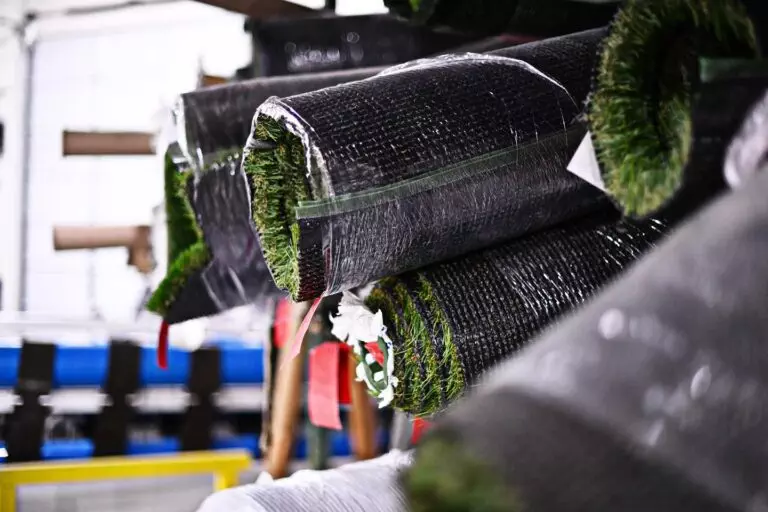
Lay the artificial grass – Roll out the artificial grass and secure it in place with nails or staples. Make sure to leave extra material around the edges for trimming later.
Trim the excess – Once the artificial grass is laid out, trim off any excess material to create a clean edge.
Fill in the seams – Use adhesive tape or glue to fill in any gaps or seams between pieces of artificial grass.
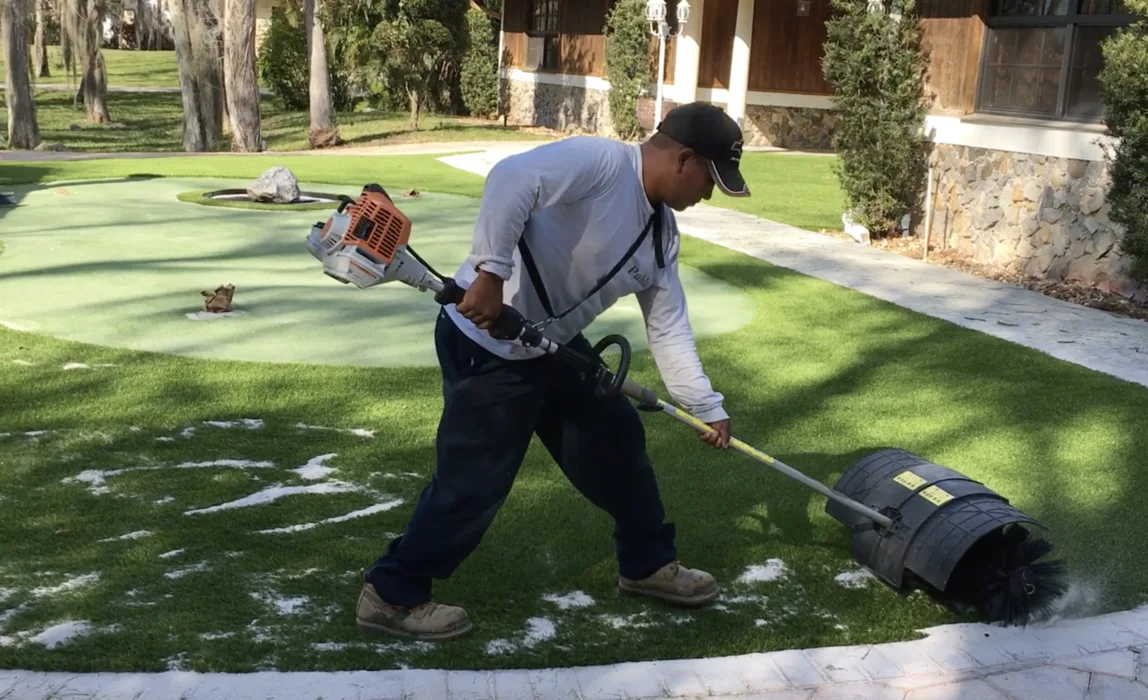
Water regularly – Although artificial grass doesn’t require much maintenance, it’s essential to keep it hydrated to prevent crumbling or fading. Water your putting green regularly, especially after heavy usage.
Conclusion
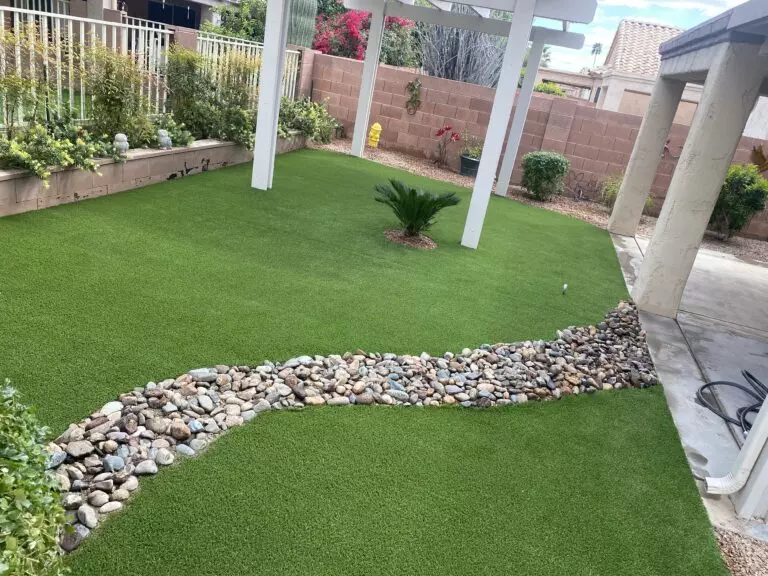
Transforming your backyard into a personal golf oasis with an artificial grass putting green is easier than you think. By considering the benefits, design options, installation tips, and regular maintenance, you can create a beautiful and functional space for practicing your short game. So why wait? Start planning your perfect backyard putting green today!